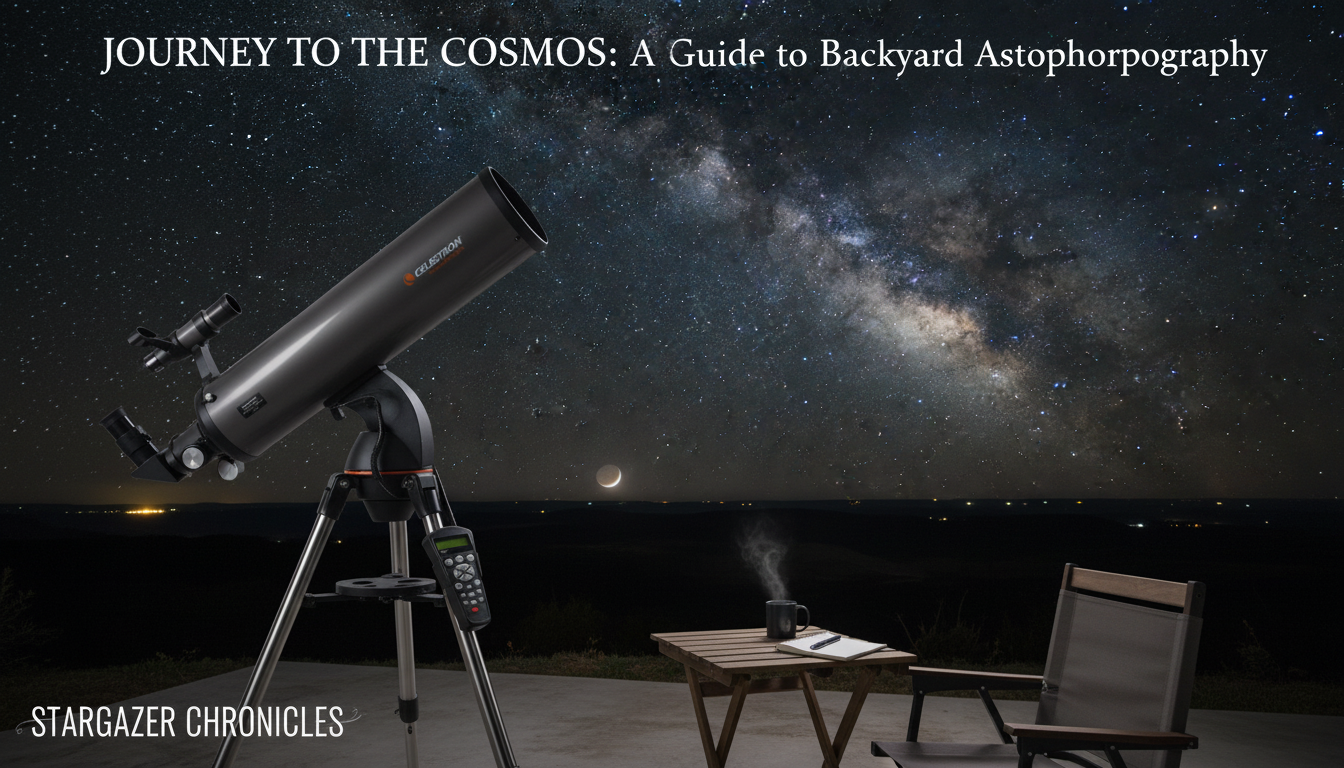
Setting up a Newtonian reflector telescope is mostly about getting three things right: a stable mount, a well-balanced optical tube, and an aligned finder so objects you see in the finder land in the eyepiece. Once those basics are handled, the scope becomes quick to deploy for weeknight viewing.
For a deeper walkthrough with photos and extra tips, see the full guide here: https://roomtreasures.shop/how-to-set-up-a-newtonian-reflector-telescope/.
Start with the tripod or base on firm ground. Extend the legs evenly and tighten every clamp and knob. If your mount has an accessory tray/spreader, install it early—it adds stiffness and reduces wobble. A roughly level setup helps tracking and makes adjustments feel predictable.
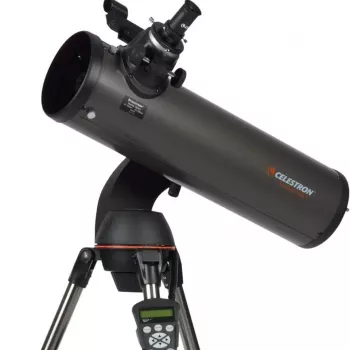
With the mount secure, attach the Newtonian tube using the correct connection for your scope (tube rings on a dovetail bar, or side bearings on a Dobsonian base). Keep a hand on the tube while tightening hardware so it can’t slip or swing unexpectedly.
Unlock the altitude and (if applicable) azimuth or declination axis and check whether the tube wants to nose-dive or drift. Slide the tube slightly in its rings or adjust counterweights until it stays put when gently released. Proper balance protects the mount and makes manual nudging smoother.
Insert the focuser adapter if needed, then start with a low-power eyepiece (typically the longest focal length you own). Add the finder scope or red-dot finder, making sure it’s snug and aligned straight. Save Barlows and high-power eyepieces for later, once everything is aligned.
Point the telescope at a distant, stationary target (like a street sign far away) using the main scope and low-power eyepiece. Center it, then adjust the finder’s screws until the same target is centered in the finder. Recheck by slewing away and returning to confirm both views match.
Newtonians perform best when the mirrors are aligned. If stars look smeared or you can’t reach sharp focus, verify collimation using a collimation cap or laser and make small adjustments. Even a quick check can noticeably improve contrast and sharpness.
Use a collimation cap or laser to align the secondary mirror under the focuser, then adjust the primary mirror until the center mark returns to the correct spot. Make small turns and recheck after each adjustment to avoid overshooting.


Leave a comment