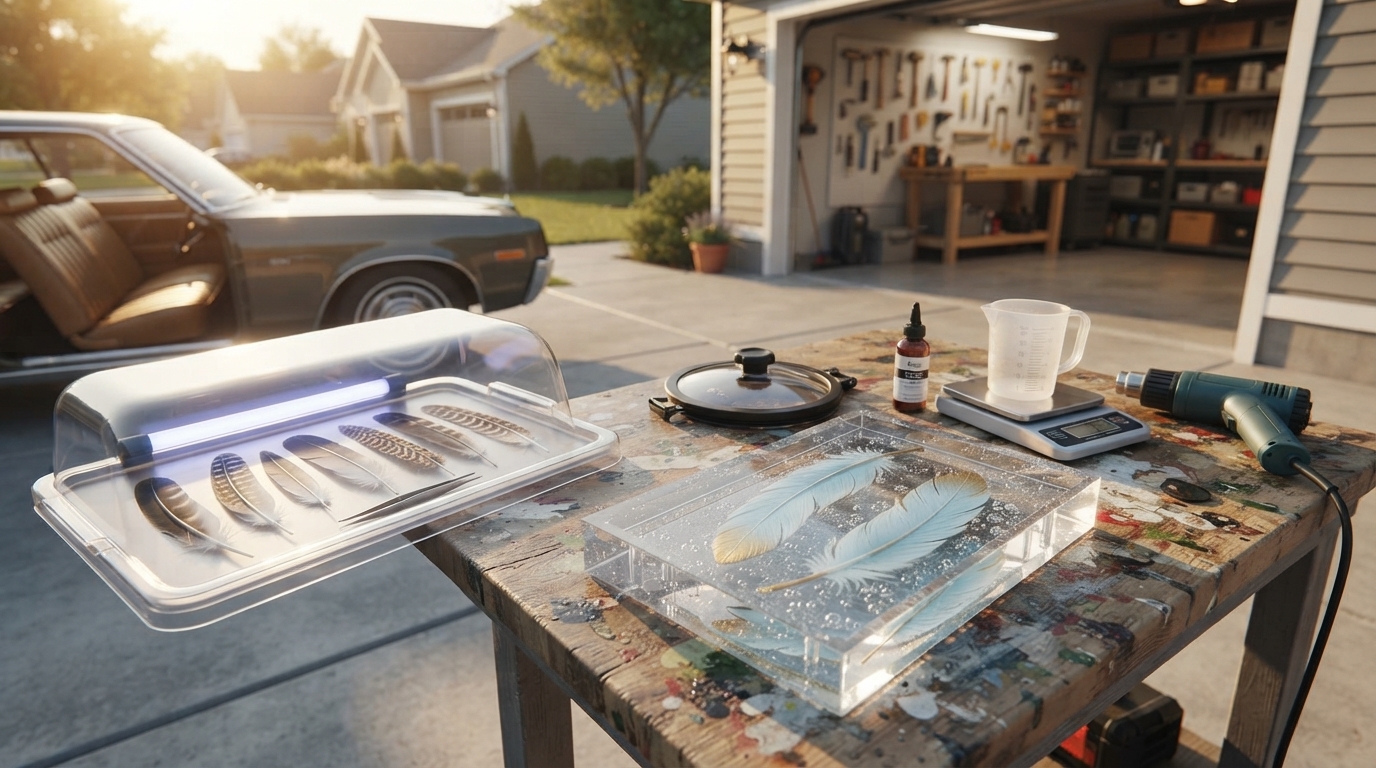
Yes—feathers can be preserved in resin, and the result can look surprisingly crisp and dimensional when the feather is properly dried, stabilized, and fully encapsulated. The biggest threats are trapped air, moisture, and feather movement during the pour, all of which can create cloudiness, bubbles, or a “floating” feather that shifts out of place.
Start by choosing a feather that’s clean and structurally sound. If it’s damp, oily, or shedding heavily, resin will magnify those flaws. Let the feather air-dry completely in a warm, low-humidity space; moisture is the fastest way to get haze or curing issues.
Next, stabilize the feather so it doesn’t trap bubbles. A light seal coat helps: apply a thin layer of clear-drying sealer (or a very thin brush-on layer of resin) to “lock” down soft barbs and reduce air release. Let that coat dry or cure before embedding.
Use a clear casting resin and work in thin layers. Pour a small base layer first and let it thicken to a gel stage, then place the feather where you want it. This prevents drifting and keeps edges from curling up. After positioning, pour another thin layer to cover, then build to full depth with additional pours if needed.
To reduce bubbles, warm the resin bottles slightly (not hot) before mixing, stir slowly, and pour from one spot so resin flows over the feather rather than “slapping” it with air. A quick pass with a heat tool can pop surface bubbles, but keep heat minimal—too much can ripple resin or scorch fine feather fibers.
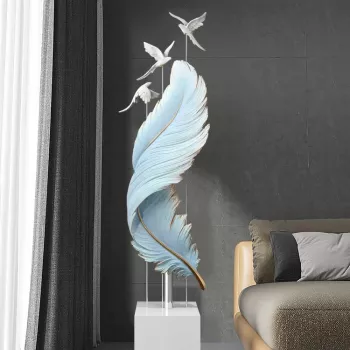
Once cured, keep feather-resin pieces out of prolonged direct sunlight to minimize yellowing. Clean with a soft microfiber cloth and avoid harsh solvents. For more styling ideas, placement tips, and long-term care guidance, see the full guide here: https://roomtreasures.shop/guide-feather-resin-sculpture-styling-placement-care/.
A clear casting resin with a slower cure time is usually best because it releases bubbles more easily and levels smoothly. Choose a formula labeled low-odor/low-yellowing for display pieces.


Leave a comment